Installing a surface water soakaway: Step-by-step guide
Surface water soakaways are essential for managing rainwater on properties, preventing waterlogging, and reducing the burden on public drainage systems.
At ASL Limited, we ensure the process is seamless and efficient, so your property remains free from surface water issues. Here's a top level step-by-step guide on how we install a surface water soakaway. Given the time of day we could go into much more detail for each step but this is an overview.
1. Site assessment and planning
Before we break ground, a thorough site assessment is critical. We evaluate the soil type, water table level, and overall topography to ensure the site is suitable for a soakaway. This step helps us determine the soakaway’s size and location, ensuring it will function efficiently.
2. Excavation
Once the planning phase is complete, we move on to excavation. The soakaway is typically a pit dug into the ground and the depth of this can vary depending on the property's needs and the porosity of the ground. The size of the soakaway also depends on the surface area it’s meant to drain.
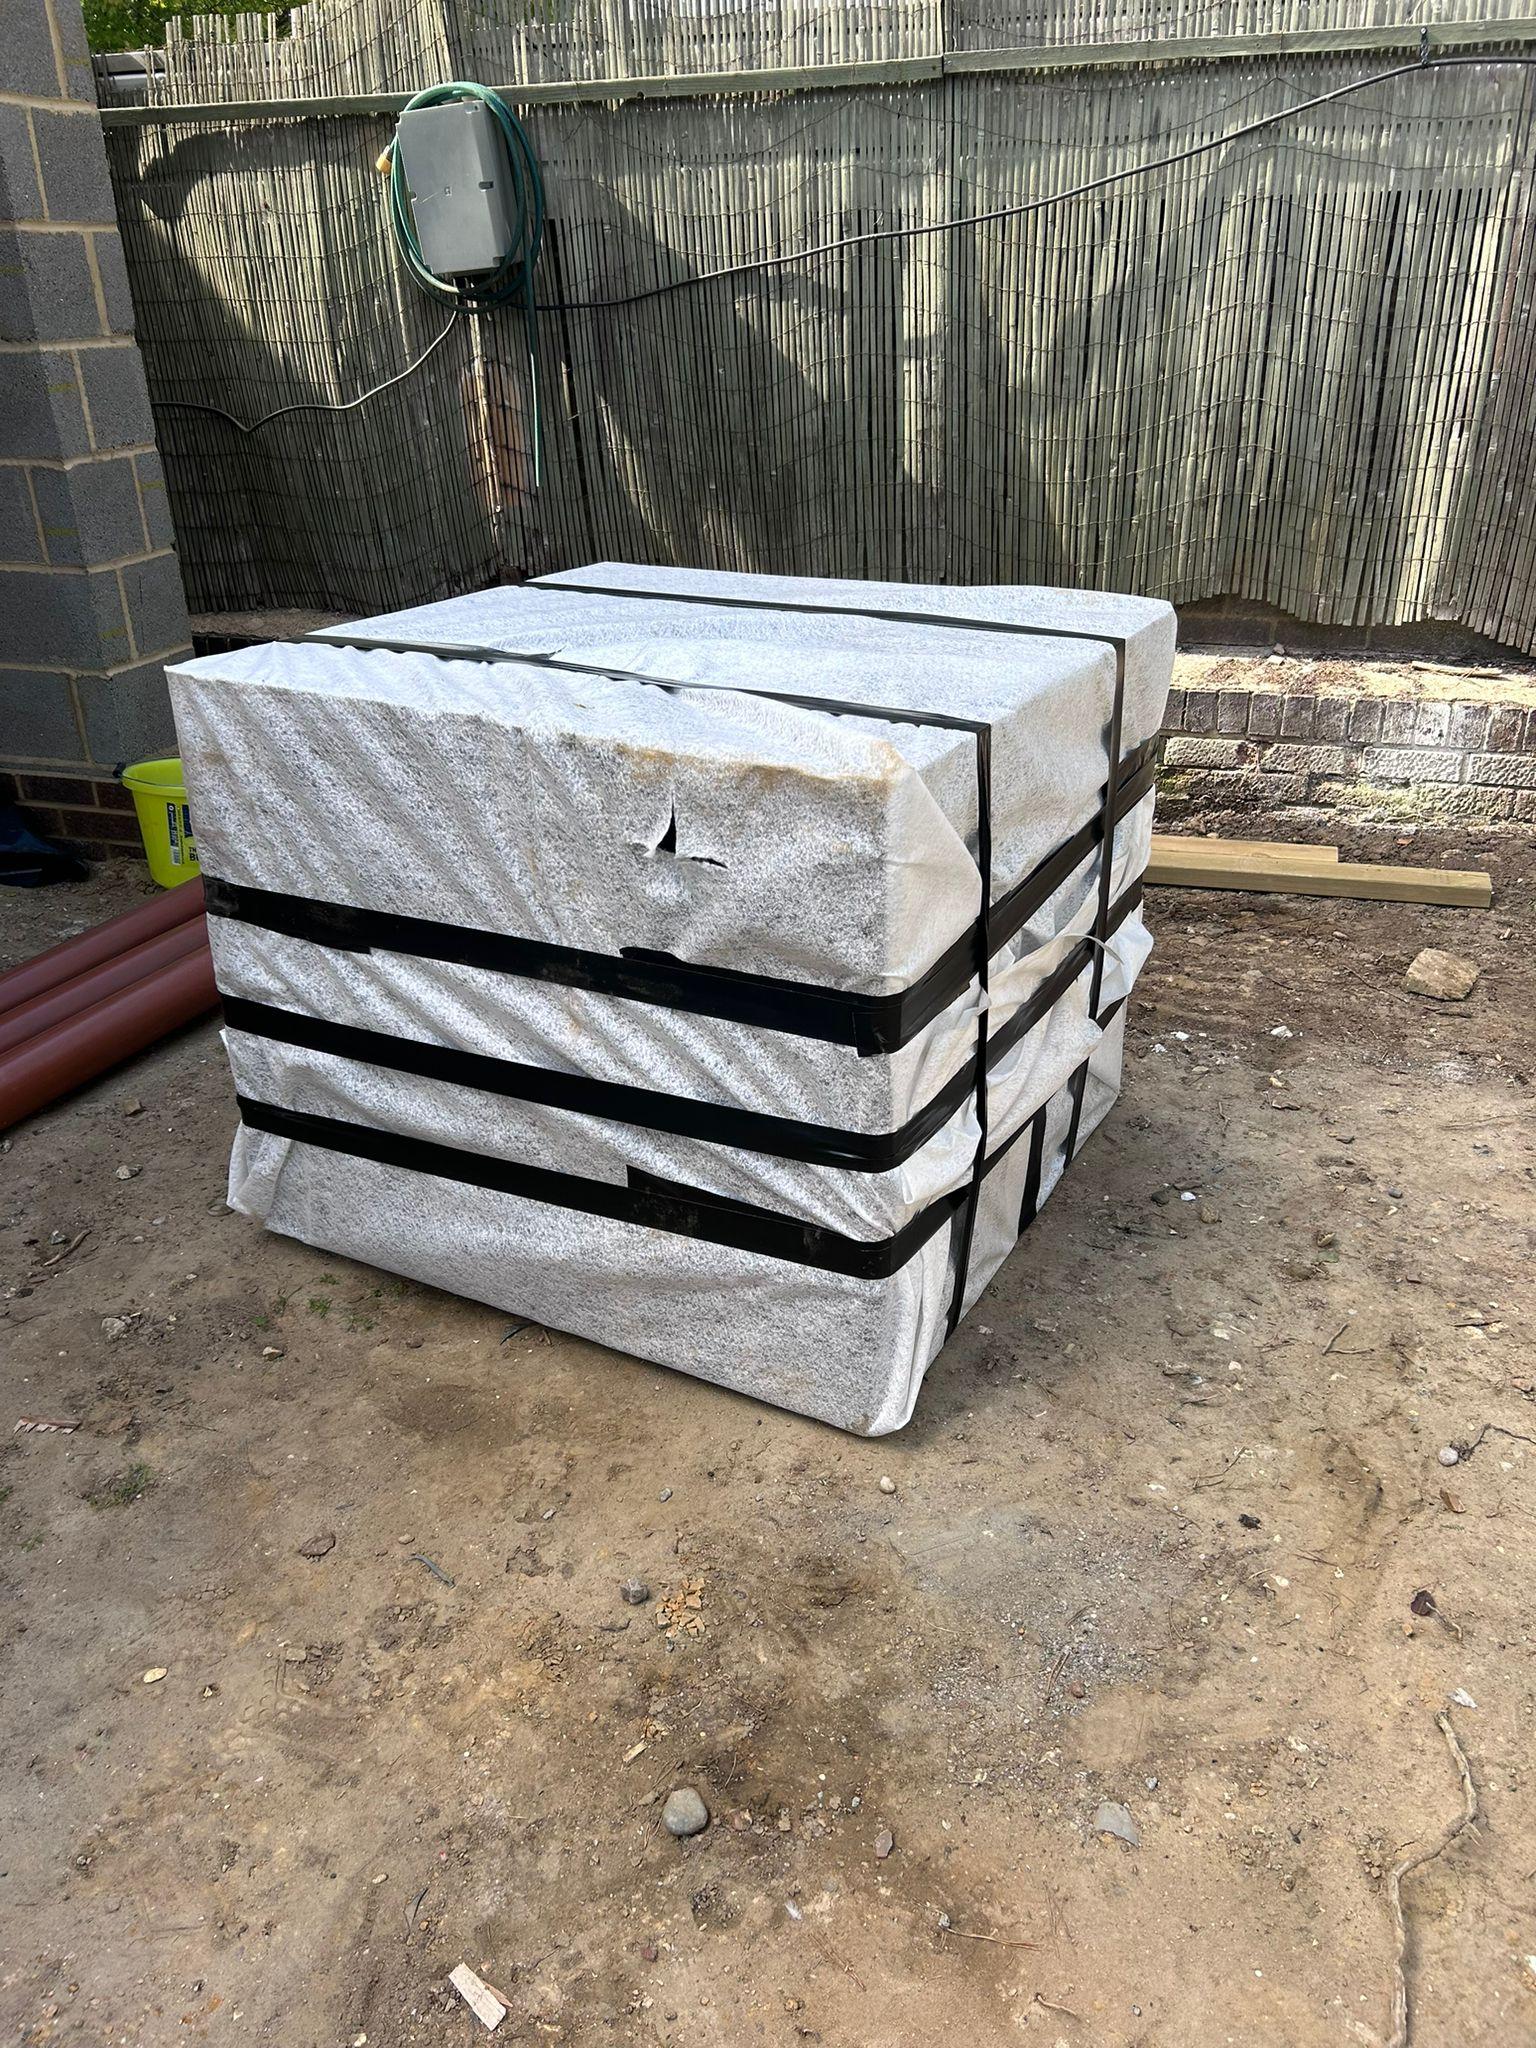
3. Installation of the soakaway crate
Next, we install a soakaway crate or a similar structure designed to retain water temporarily, allowing it to gradually seep into the surrounding soil. These crates are strong, durable, and designed to handle the load from above ground while providing ample space for water storage.
4. Lining the pit
To ensure the soakaway functions properly without clogging over time, the pit is lined with a permeable membrane. This prevents soil particles from entering the soakaway structure while allowing water to pass through freely. It’s a crucial step for maintaining the soakaway's longevity.
5. Backfilling with gravel
We then backfill the pit with clean, angular gravel around the crate. This gravel layer further aids in water dispersion and ensures the soakaway remains effective. The type of gravel used is chosen specifically for its drainage properties, ensuring optimal performance.
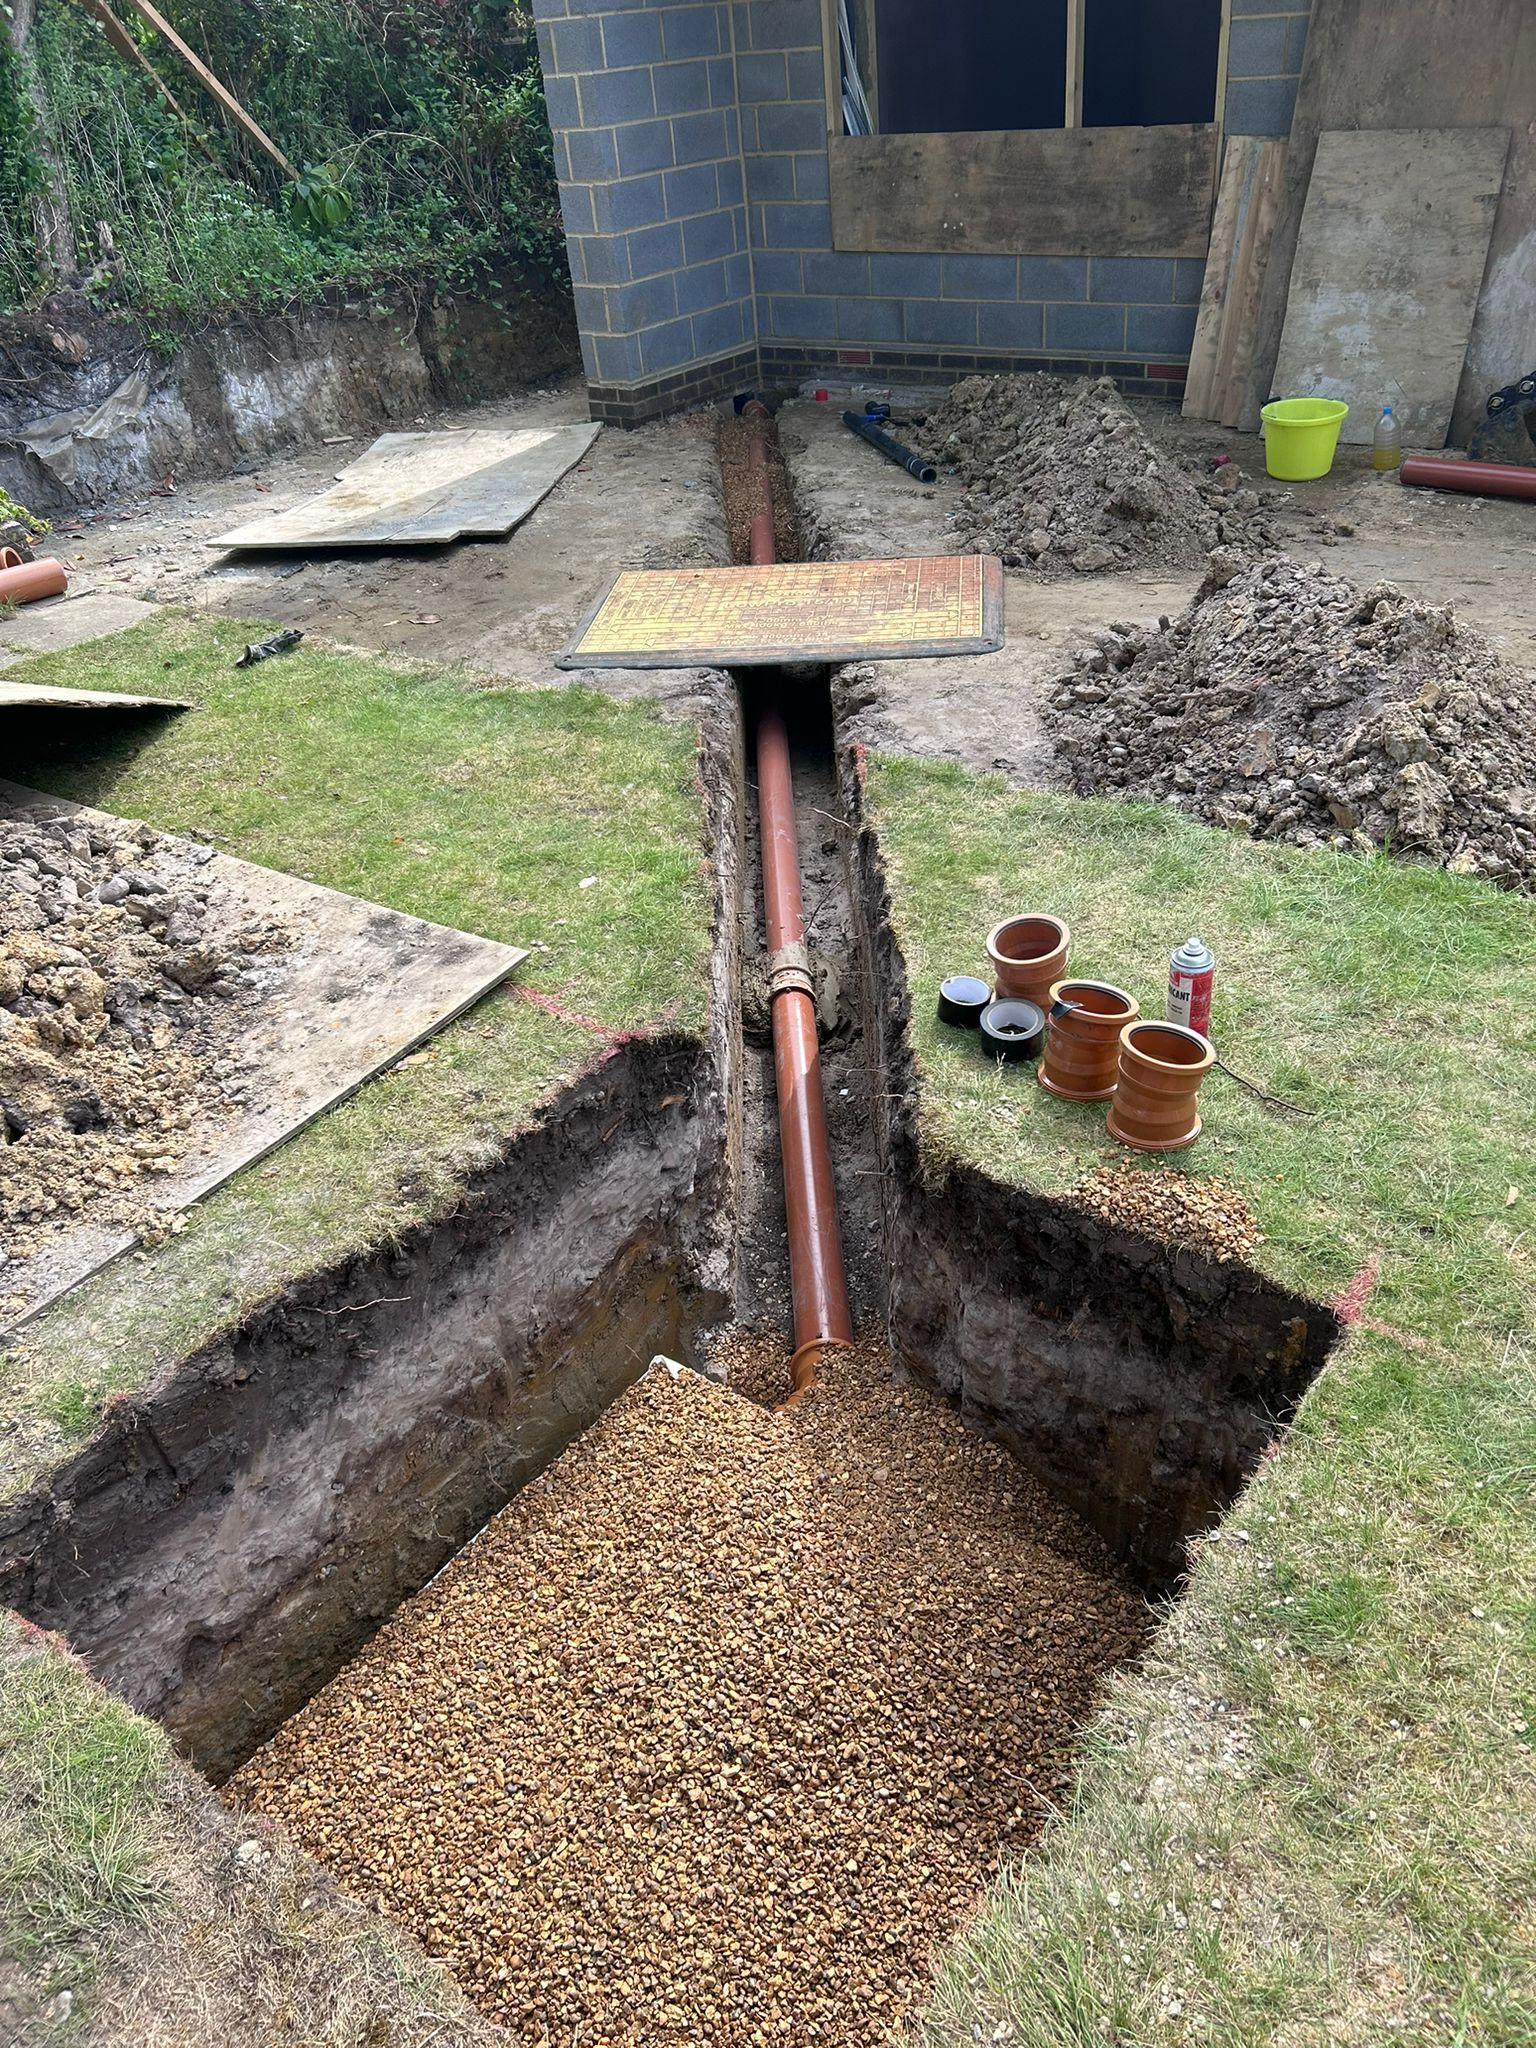
6. Connection to the drainage system
Once the soakaway is in place, we connect it to the property’s drainage system. This often involves redirecting guttering and downpipes to lead rainwater directly into the soakaway. Careful consideration is given to the flow rate to avoid overwhelming the soakaway during heavy rainfall.
7. Final checks and covering
Before closing the excavation, we conduct a final inspection to ensure everything is correctly installed and functioning as expected. The pit is then covered, typically with a layer of topsoil, and can be finished with turf or other landscaping to blend seamlessly with your garden.
8. Ongoing maintenance
While soakaways are low-maintenance, regular checks can help ensure long-term functionality. At ASL Limited, we provide advice on how to maintain your soakaway and offer maintenance services to keep everything running smoothly.
Conclusion
Installing a surface water soakaway is a practical and effective solution for managing rainwater on your property. At ASL Limited, our meticulous approach ensures that every installation is carried out to the highest standards, providing you with a long-lasting solution to surface water management.
If you’re experiencing issues with surface water or would like to discuss the installation of a soakaway, don’t hesitate to contact us at 0800 181 684. We're here to help keep your property dry and functional, no matter the weather.
